
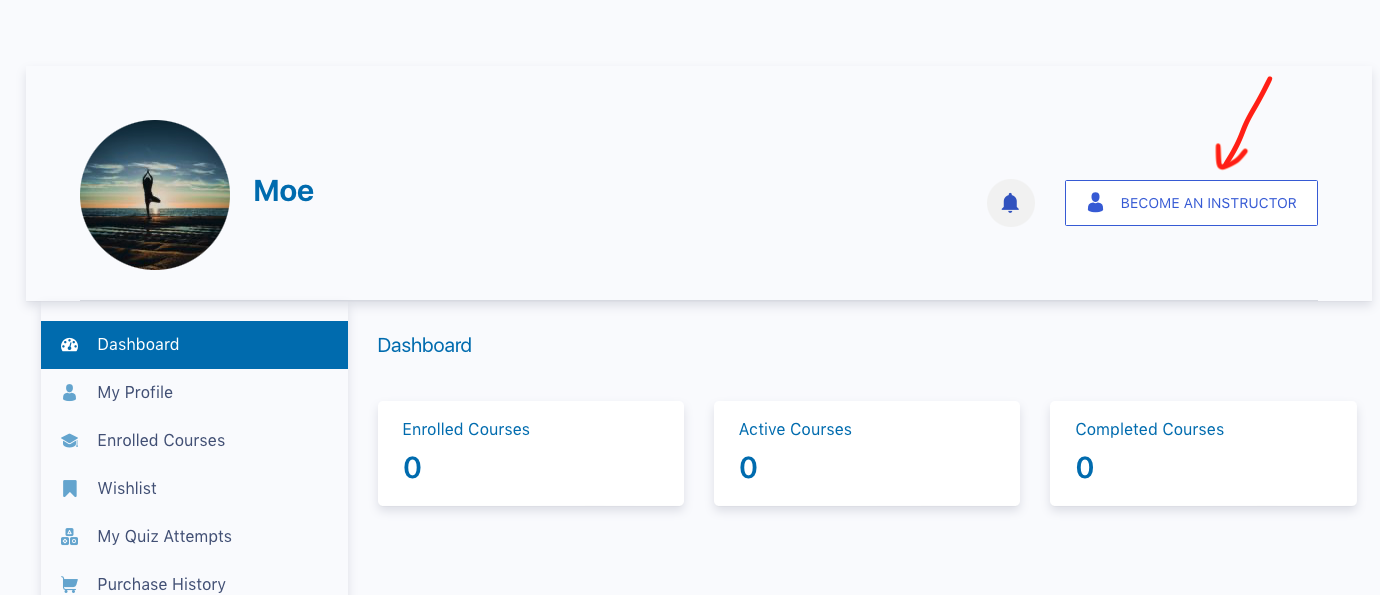
Simply go to your dashboard and click on the button labeled Become an Instructor
After that, you will be contacted by one of our agents to complete the registration process.
Instructors get a dedicated dashboard to keep track of all the functionalities you get. Once you visit the Dashboard, you will get the overview of the dashboard.
Dashboard Overview
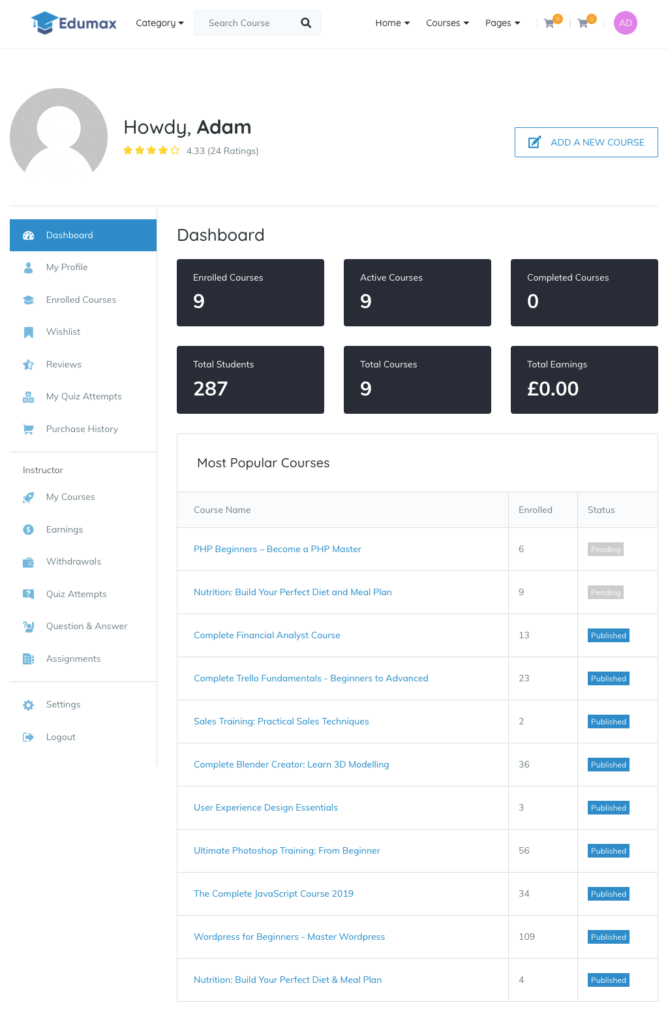
From here you can monitor all your course stats. You get a complete overview of how many courses you have completed, enrolled, the total number of students, entire earning and more.
You also get a list of the most popular courses right from the dashboard.
My Profile
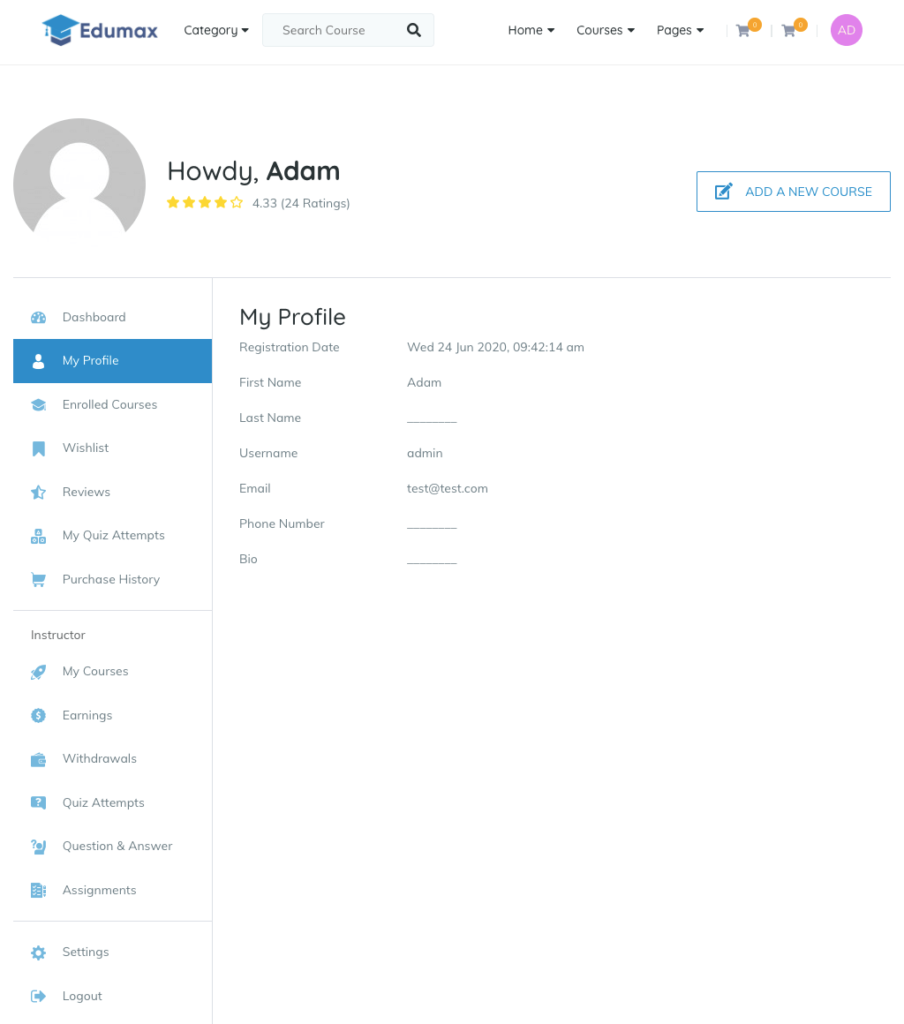
Showcase all your details on your profile and see how it appears on the frontend. You can write a great biography in the space provided as an instructor to let people know more about you.
Enrolled Courses
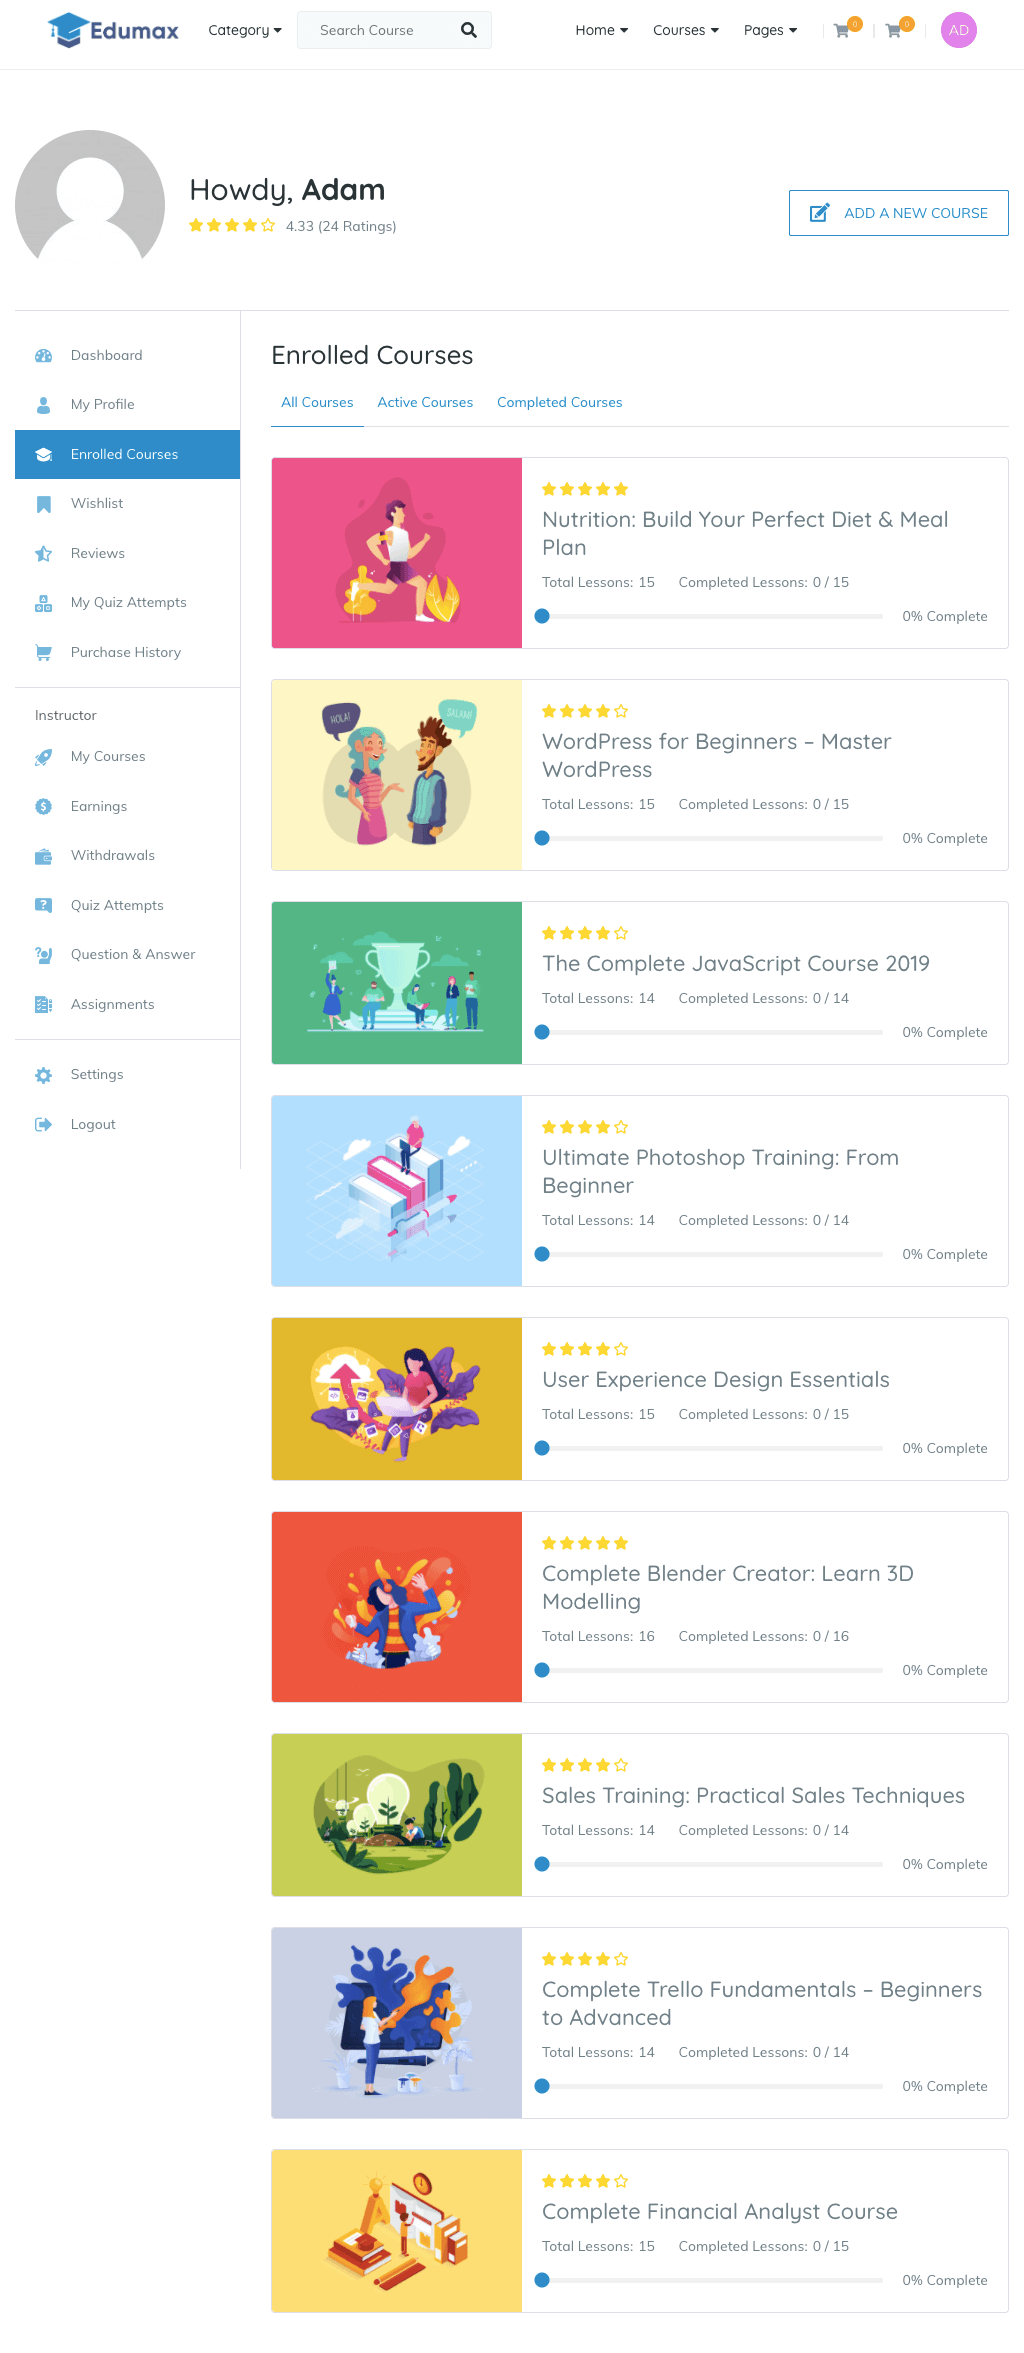
A complete list of all the enrolled courses from the dashboard. You can also track course progress from here and check how many lessons you have completed in a course.
Wishlist

You can save courses you like to your wishlist. If you want to see the courses you have saved, just go to the dashboard and select wishlist. From here you can buy the course too, by selecting the “Add to cart” option.
Reviews
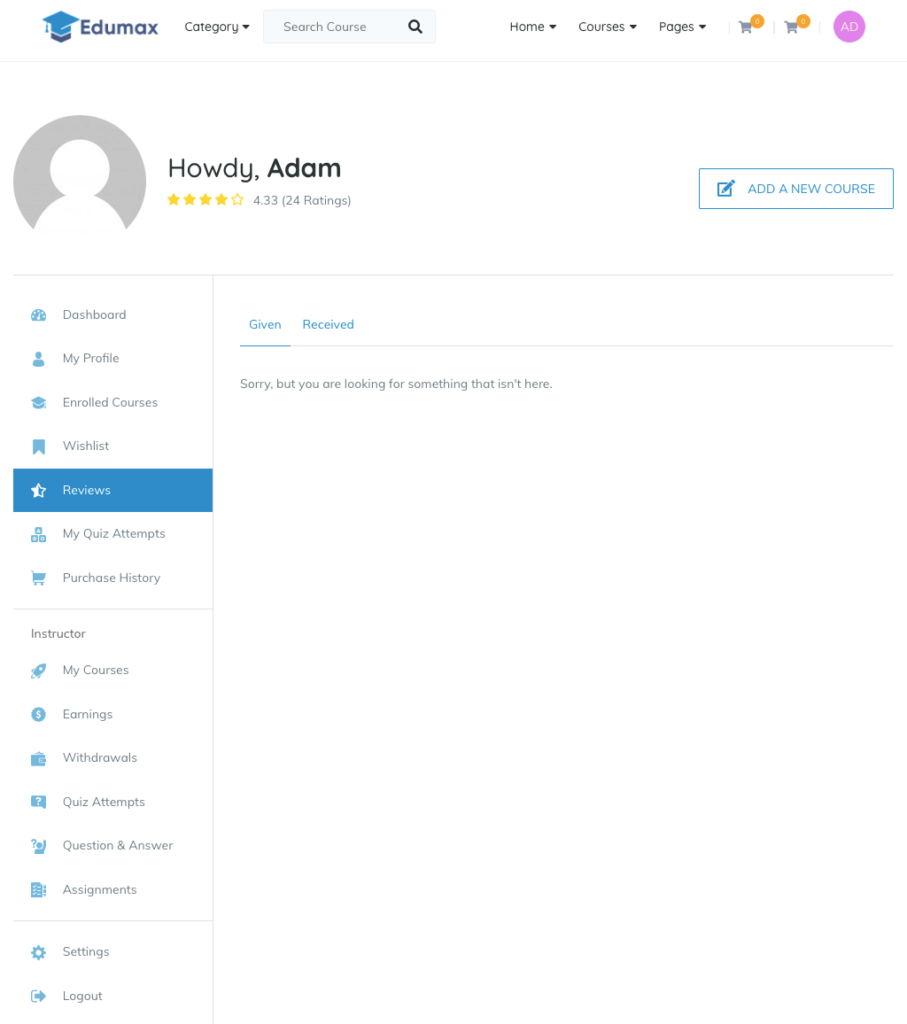
All the reviews that you get on your courses are shown here. By default, all reviews are shown in your dashboard but you can delete any review you choose.
To delete, please notify the help desk

My Courses
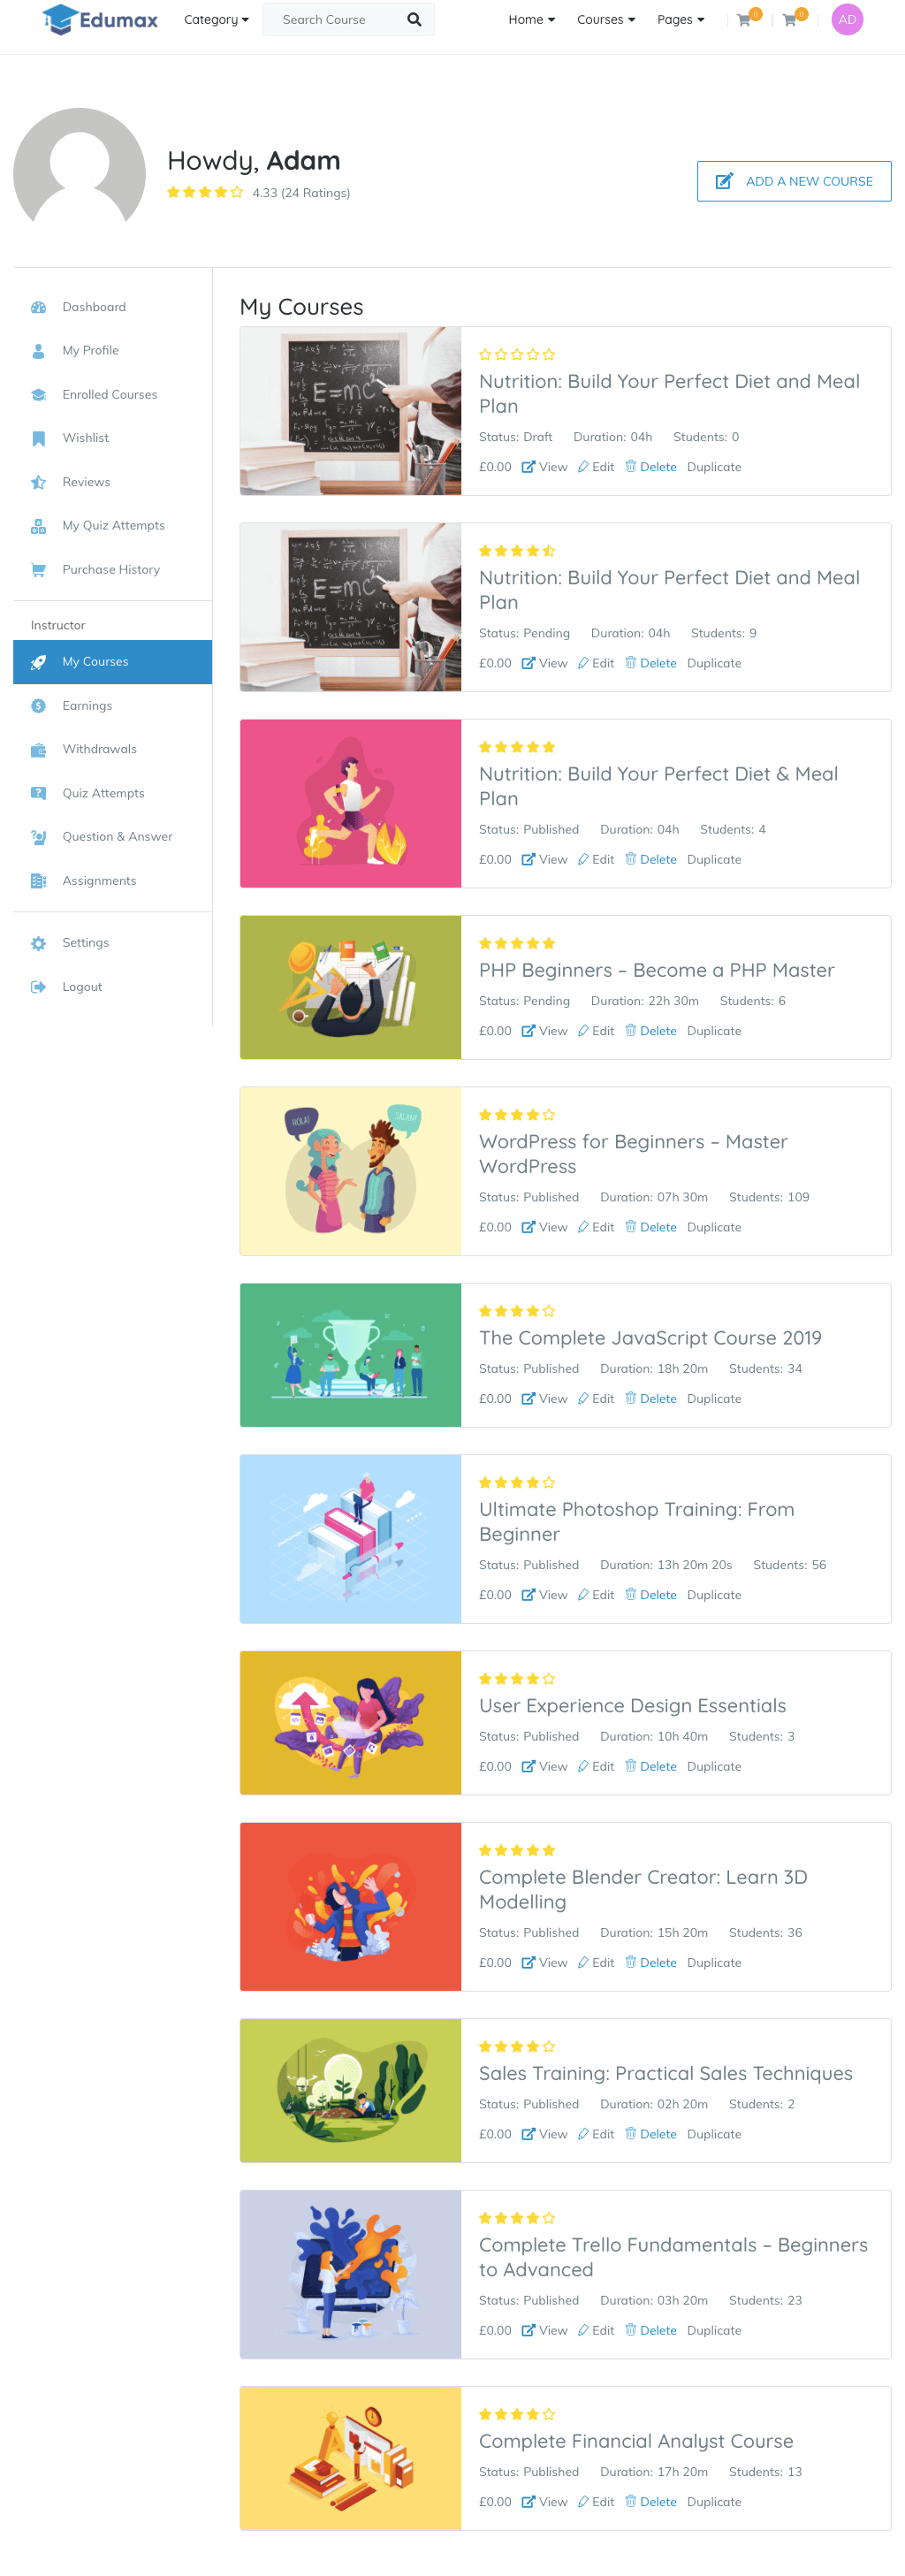
The “My Courses” section in the dashboard shows the course list and their status. It also showcases other details like the duration of the course and how many students are enrolled in a course. The cost of the course is also shown here. If you want to make any edits you can do so from here. You can even delete the course right from your dashboard.
Quiz Attempts
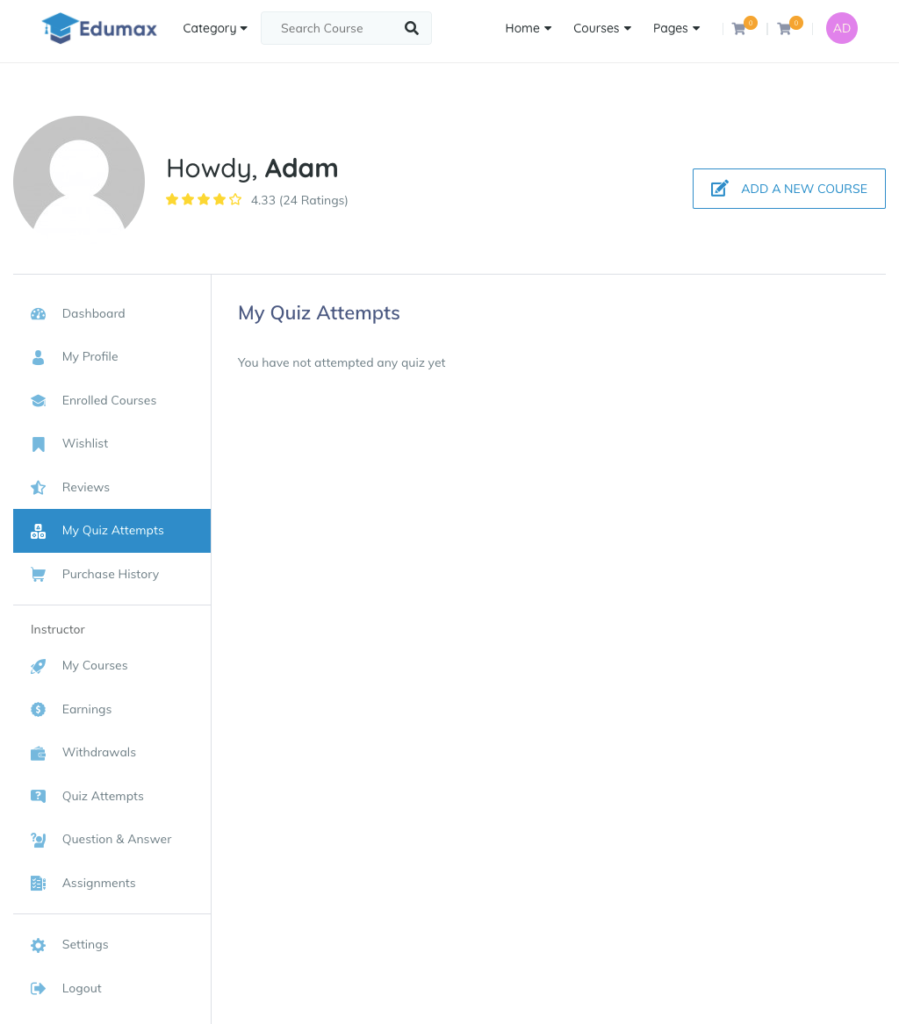
Have a complete track of your quiz attempts right in your dashboard. This shows the quiz marks obtained, total marks, the number of questions and passing grade along with the quiz status. All of the data are shown in a tabulated manner to make everything easily accessible.
Earnings

The earning section of your dashboard gives a complete detailed overview of how the courses created are performing. All your sales record are preserved in this area of the dashboard.
Report

Get advanced filters on how the course sales have evolved using a time period that you specifically want to see. There are also predefined time filters of last year, this year, last month, last week and this week that you can see in a single click.
Statements
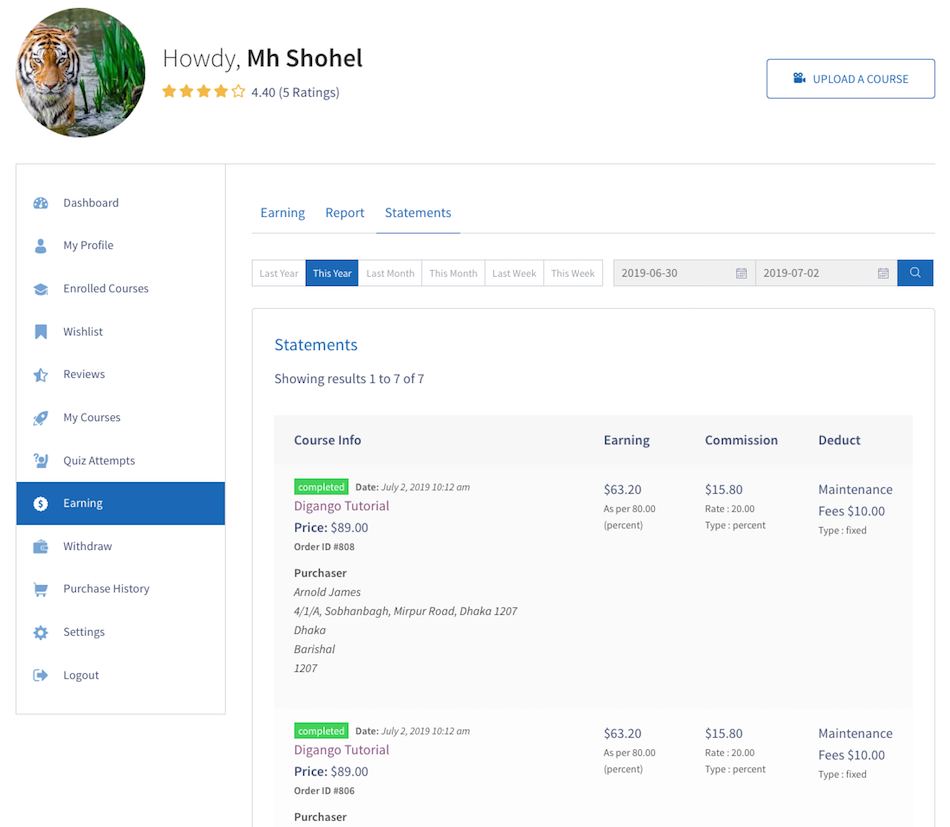
The statements section of the dashboard shows all the earning and commission statements. It included that status of the transaction, the amount earned, the commission allocated and the maintenance fee that was deducted.
Withdraw
The withdraw section deals with all the withdrawal related information. Check your current balance, pending withdrawals, completed withdrawals and rejected withdrawals from this part of your dashboard.
Purchase History
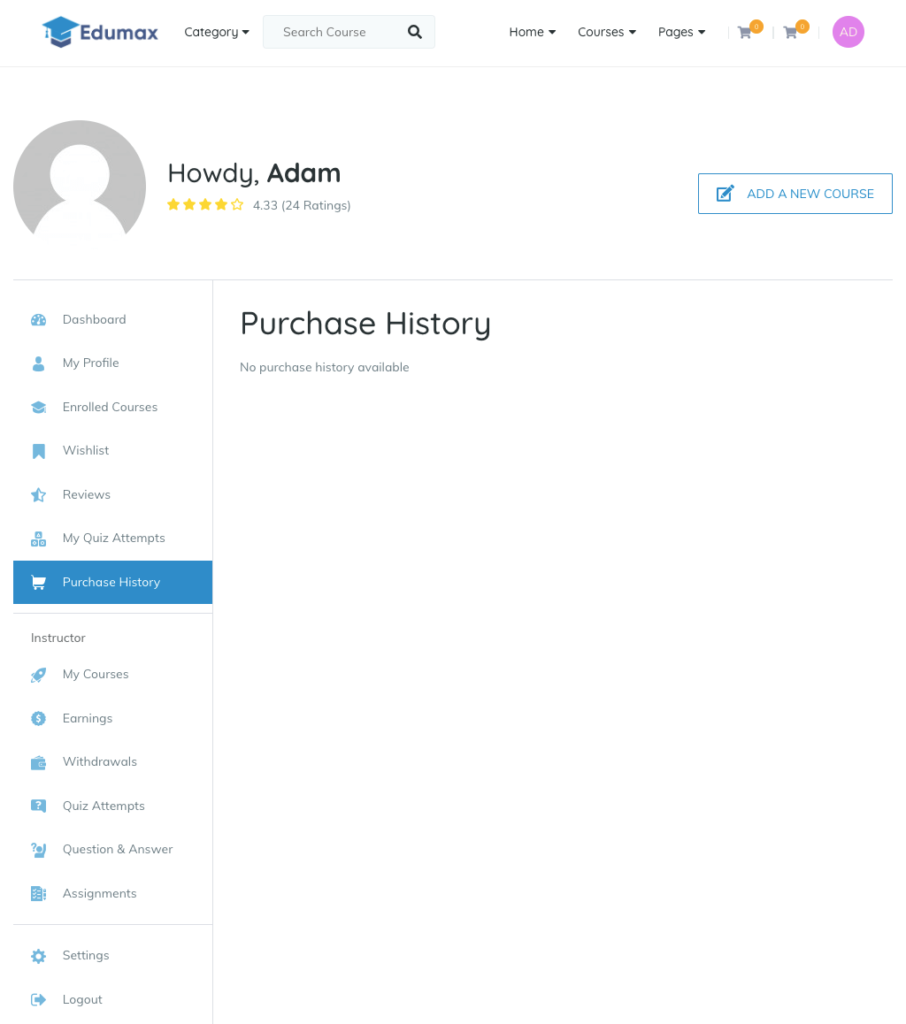
Purchase History shows all the purchases along with their status on the dashboard. You can see the date of the purchase and the status of the purchase right from here.
Settings
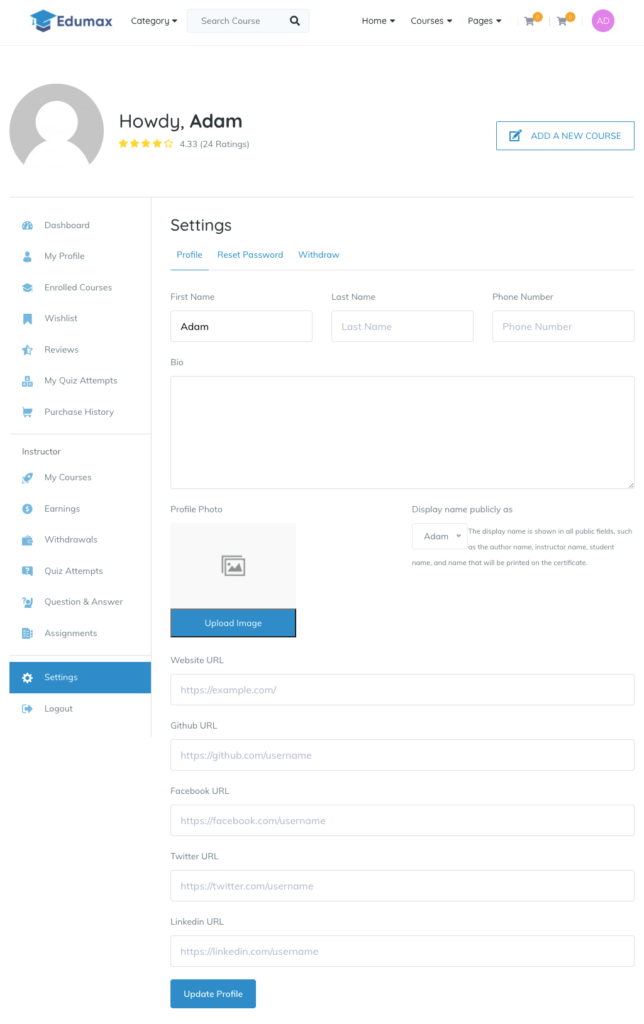
If you want to edit your profile, the settings section of the dashboard deals with that part. Edit your bio, phone number, add cover photo and update your profile picture from here.
Reset Password
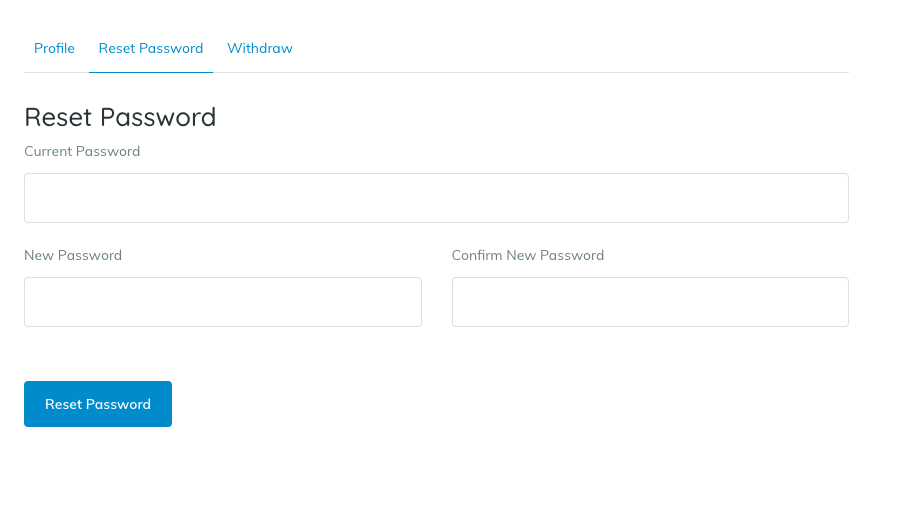
To change password, navigate to the Reset Password part and update password from here.
Withdraw
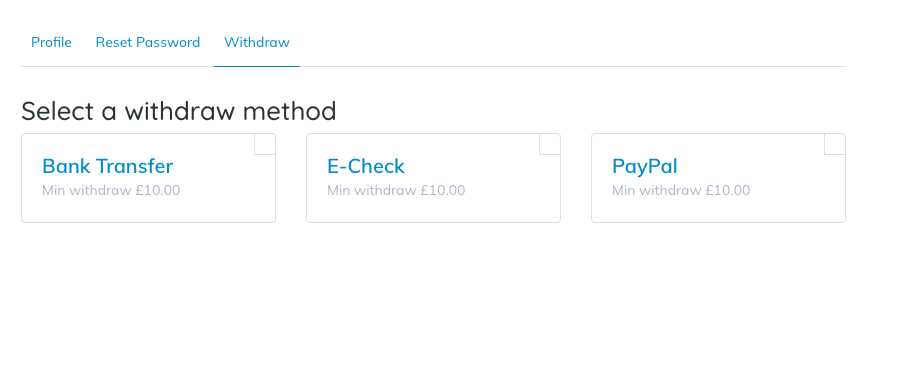
This section deals with the withdraw settings. Select the withdraw payment method and add all the account details from here too.
Course Editor will allow you to create and edit courses. What’s more, you can save courses halfway through the creation and finalize them later as they can be saved as Draft.
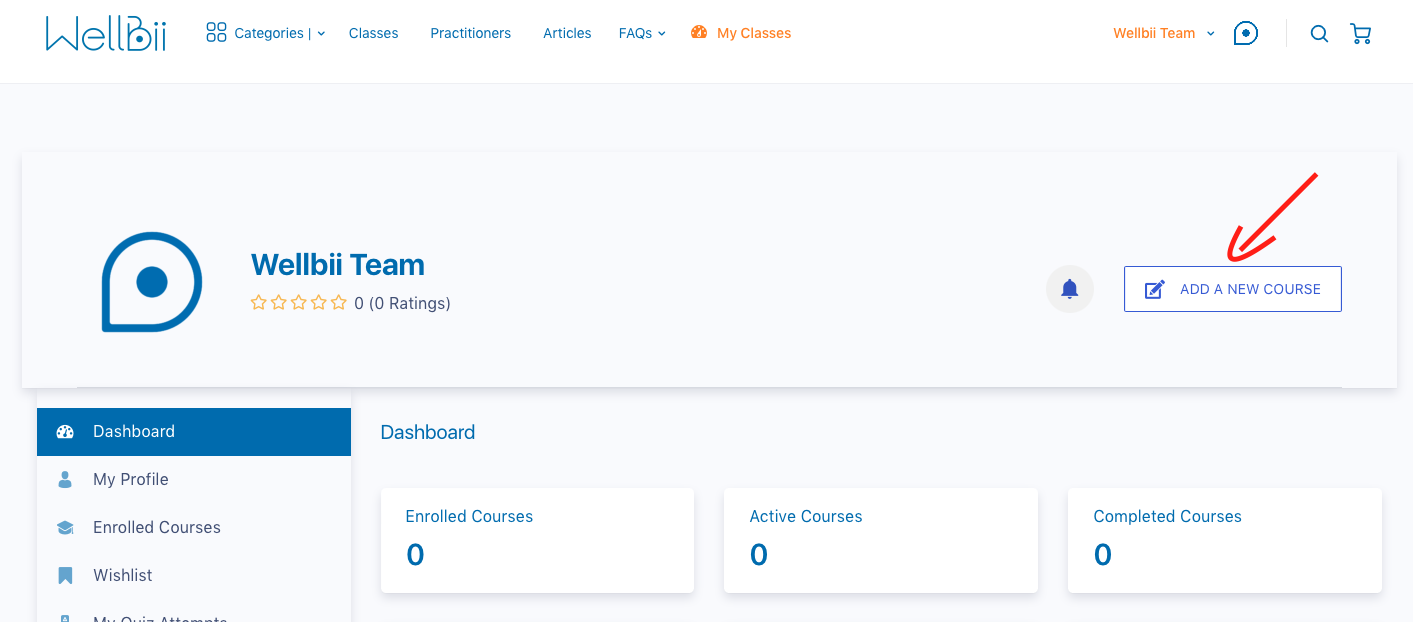
To access the Course Editor, from the Dashboard click on “ADD A NEW COURSE”
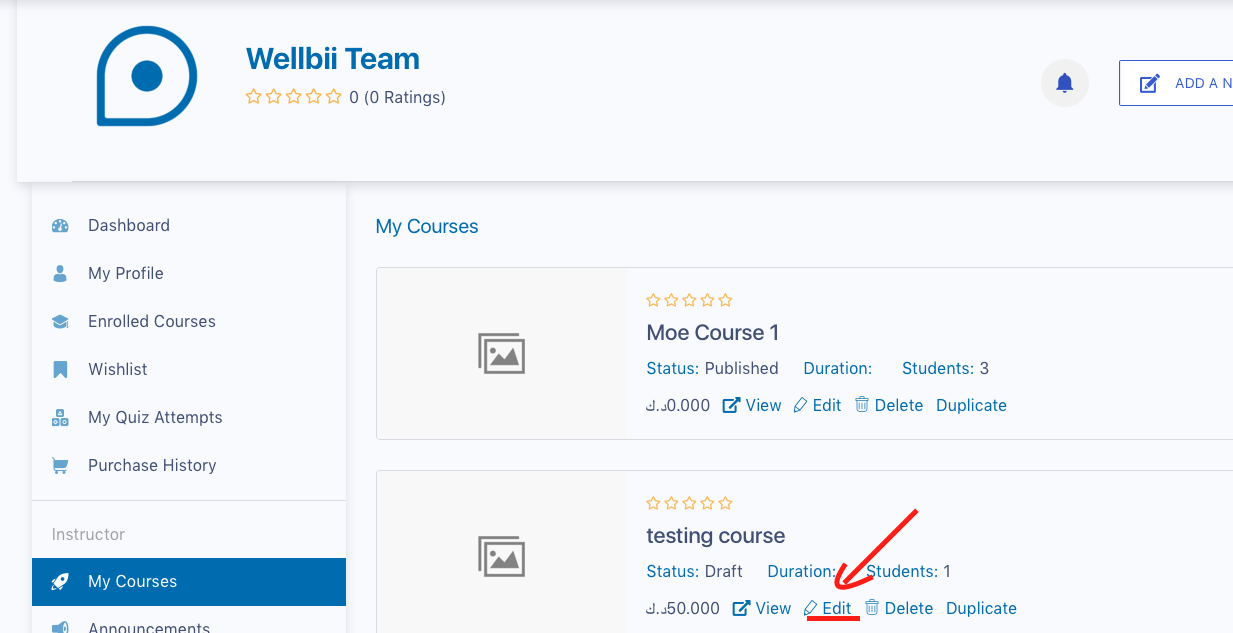
Once you do that, a new window will appear from where you can create a new course. You can also edit an existing course using this editor. To do so, find your desired course from the My Course List and click “Edit”.
Note: Except for the contents in the Course Builder section (which includes, lessons, quizzes, assignments, attachments), all contents you put here in this Course Editor will be shown on the Course landing page.
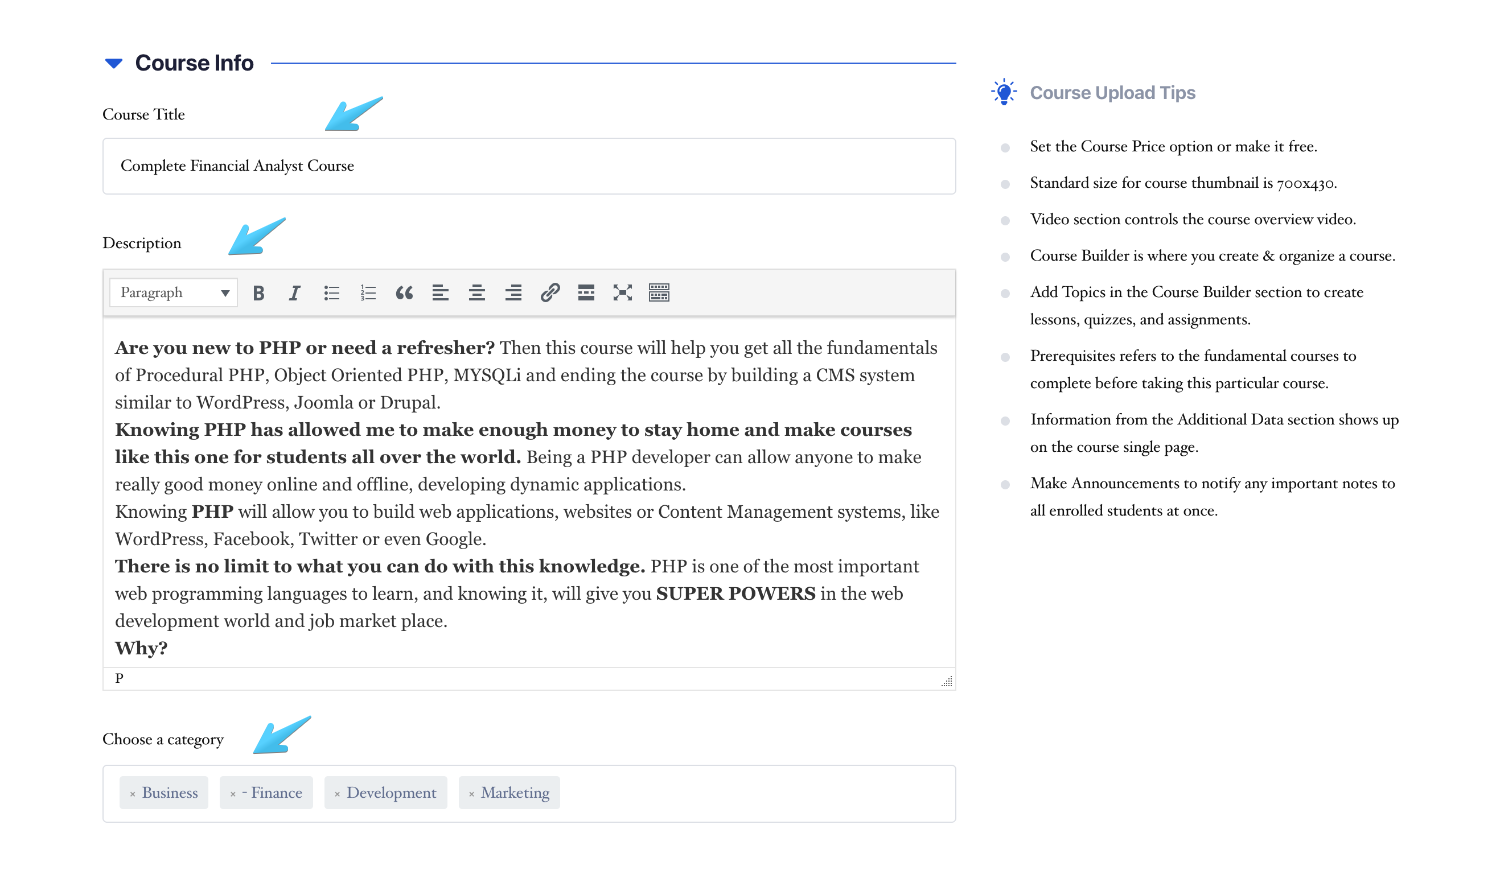
The Course Info section helps you set up the fundamental settings of a class. You need to write down the course name on the Course Title field. The Course description is a long content which requires rich text formatting, you can put that in the Description field. For a better experience, you need to define the category as well, which can be selected from “Choose a category”. Also, for better engagement and help your students understand the course difficulty, you can define the course level from Beginner, Intermediate, Expert, and All Levels.
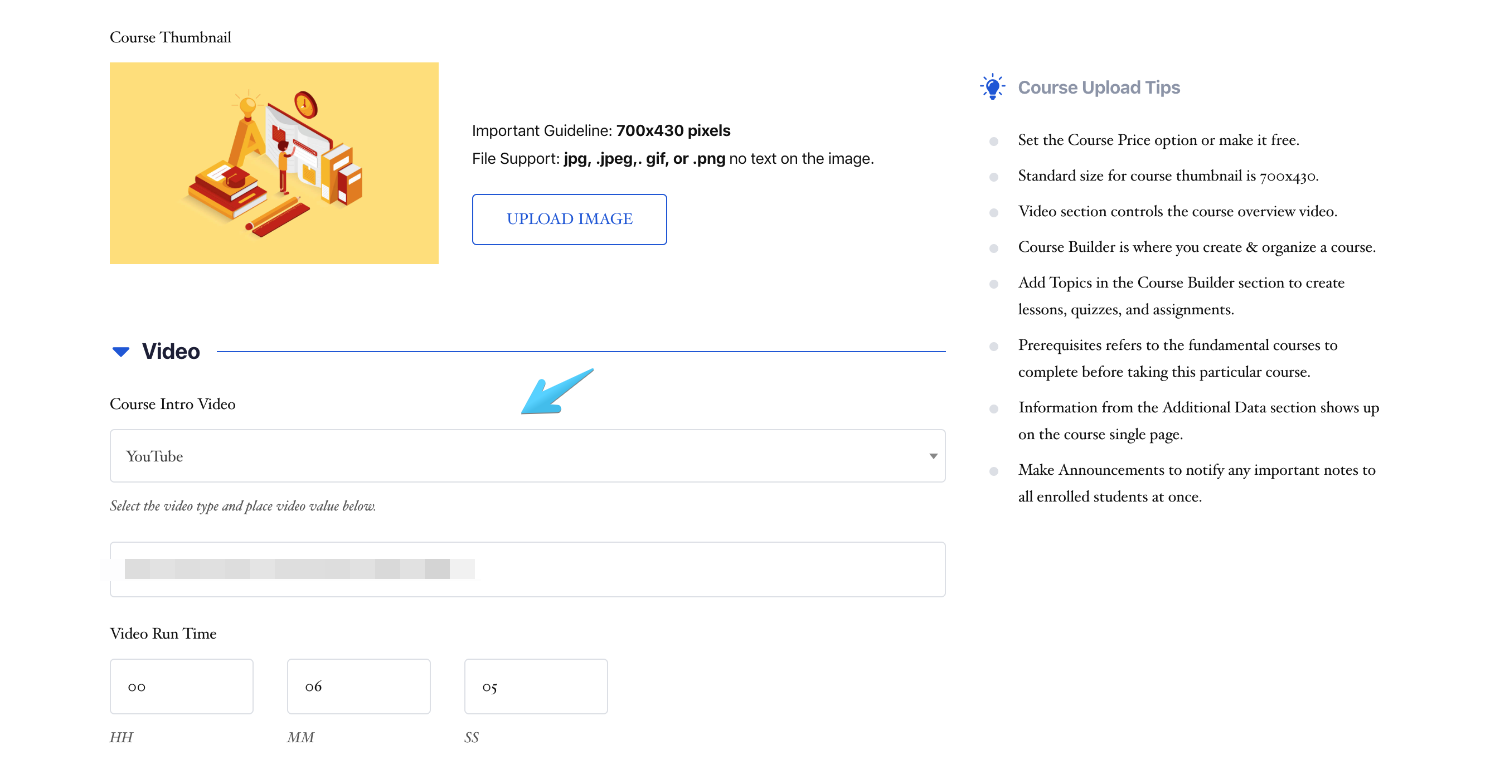
The featured image or the course thumbnail can be uploaded from the Course Thumbnail option. Please be advised, the supported file types are jpg, .jpeg, gif, or .png and no text on the image. Also, it is recommended to use 700×430 px sized image as the thumbnail.
Video section controls the course introduction video settings. You can host the video on multiple sources including YouTube, Vimeo or from an external URL. You can also upload mp4 videos on your site by choosing HTML5 from the list. Embedding video (or any other media source) is possible as well.
There are a couple more options related to course video settings. You can define the course runtime which will add clarity about the video duration to the students and the video poster is there to upload video image which is commonly known as the video thumbnail.
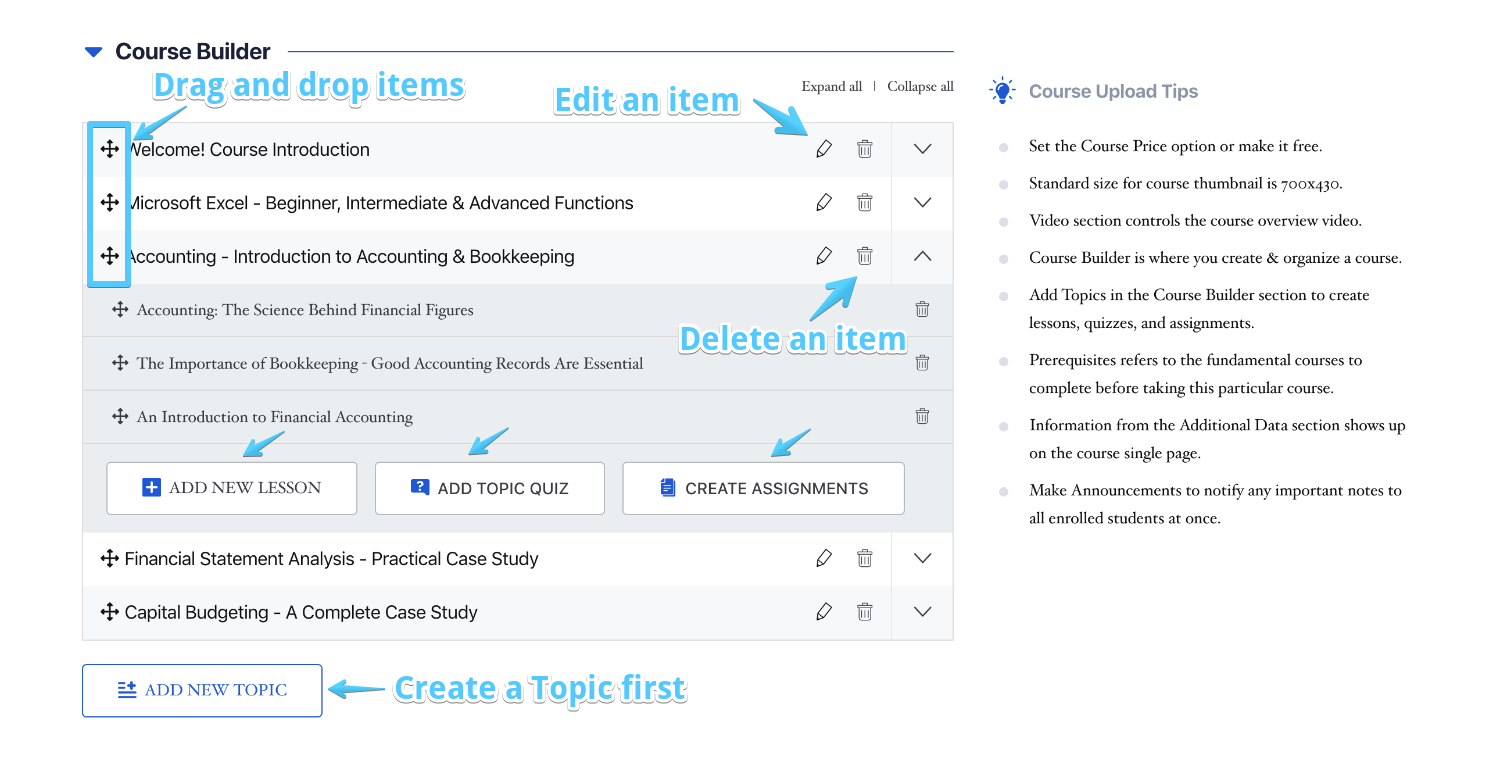
The Course Builder section is the core settings. It allows you to create topics inside which you can create either a lesson, an assignment or a quiz. If you consider course builder a textbook then topics are like the chapters. In order to create a lesson/assignment/quiz, you need to create a chapter first (in this case which is a topic).
Once a topic is created, you can create multiple lessons/quizzes/assignments.
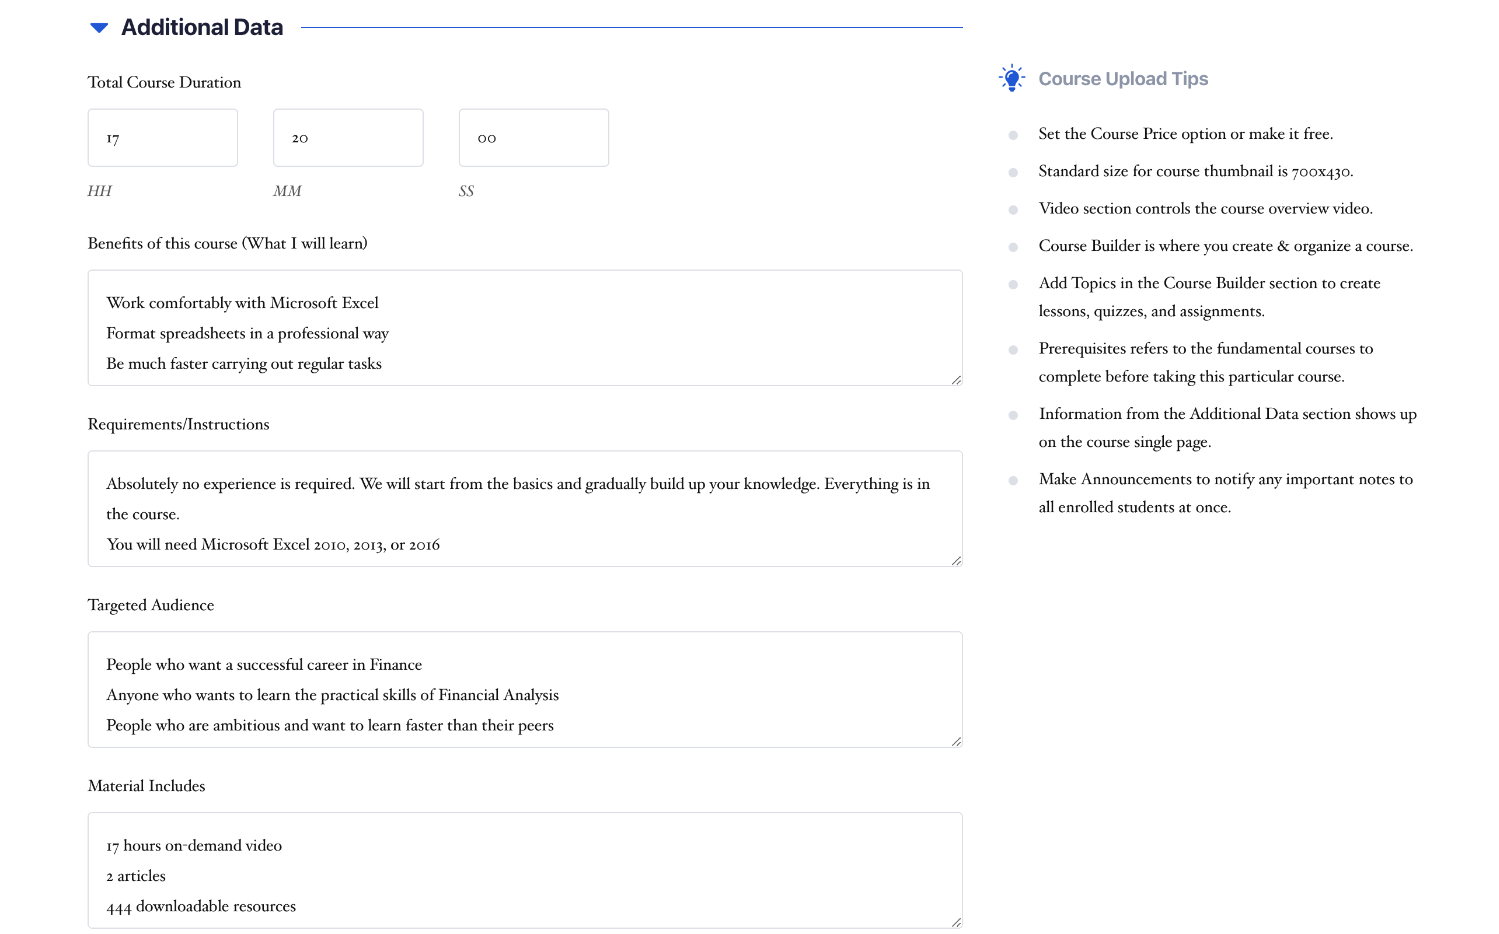
There is the Additional Data section which allows you to write down the highlights of the course. This allows you to let your students know what they can expect from the course. The fields are pretty self-explanatory. Note: you should use one-liners in all these fields.
You can add zoom meetings or webinars directly on your courses.
To enable this functionality, go to your Dashboard
From there, on the left button part of your Dashboard, you will see a tab called Zoom
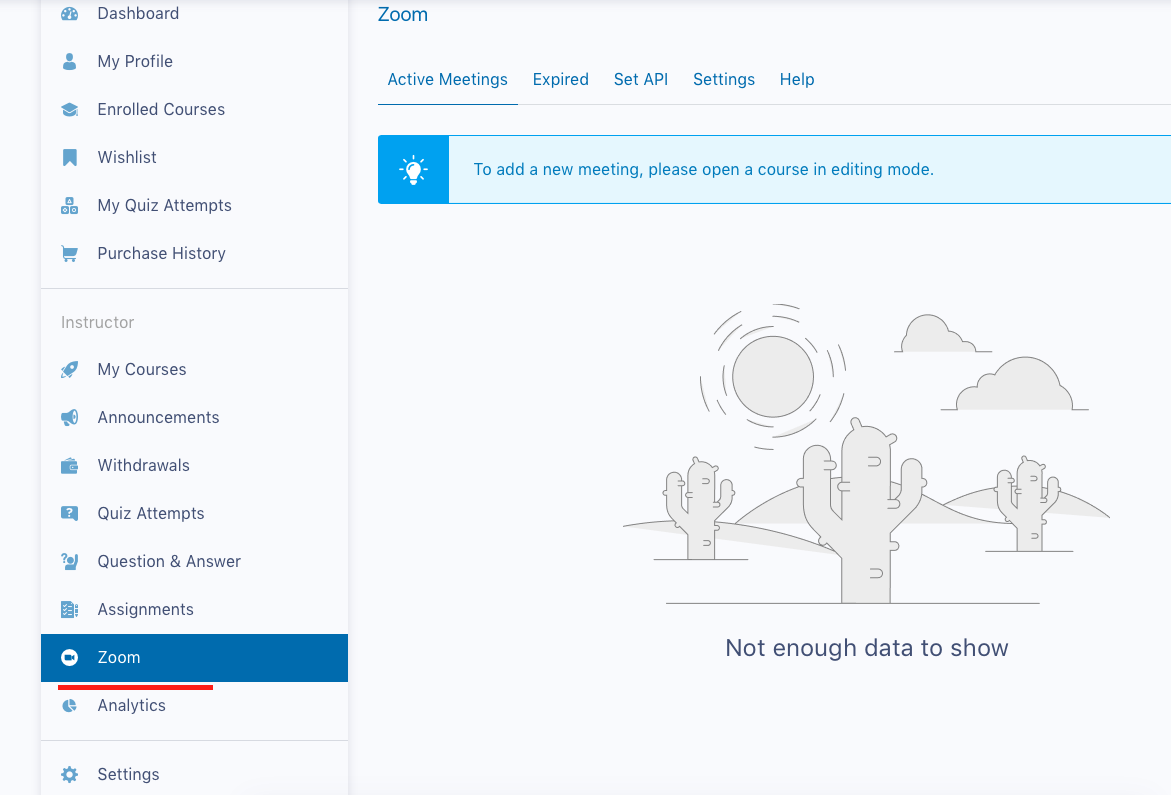
From there, Navigate to the SET API below
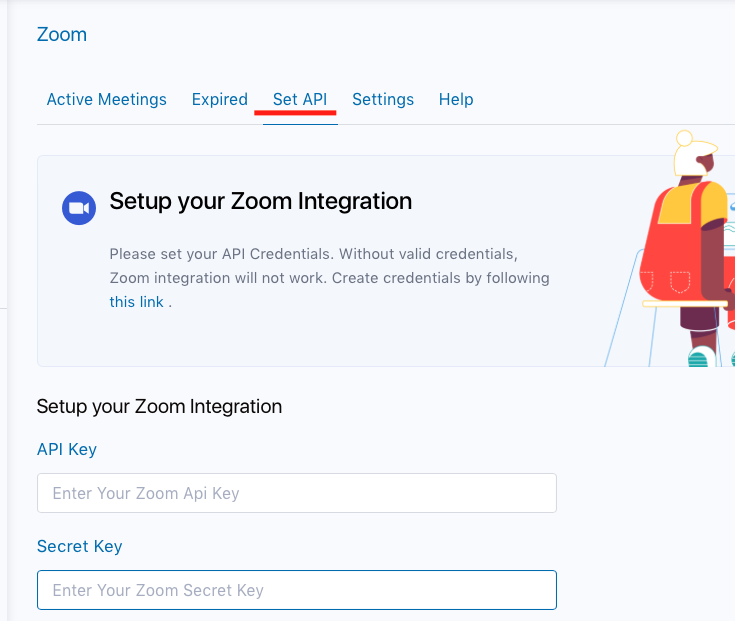
Create or login to Zoom Account
To get started, you need to create a Zoom account first. Visit Zoom’s website and sign up to create an account or sign into your existing account.
Create a Zoom App and JWT
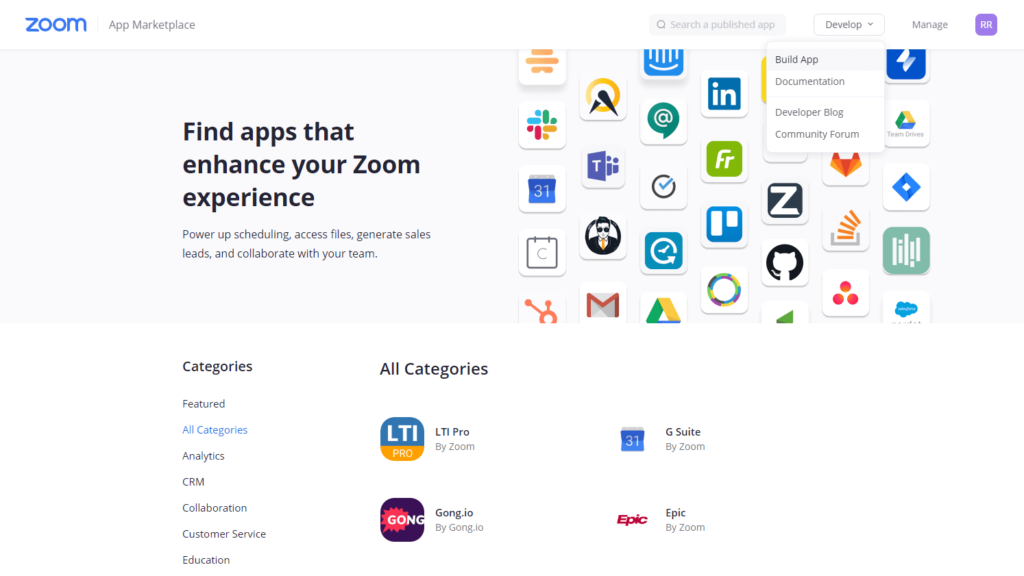
After you sign into your account, you must first create an app that will connect Wellbii Platform to your Zoom account. To do so, please visit app marketplace, and click develop.
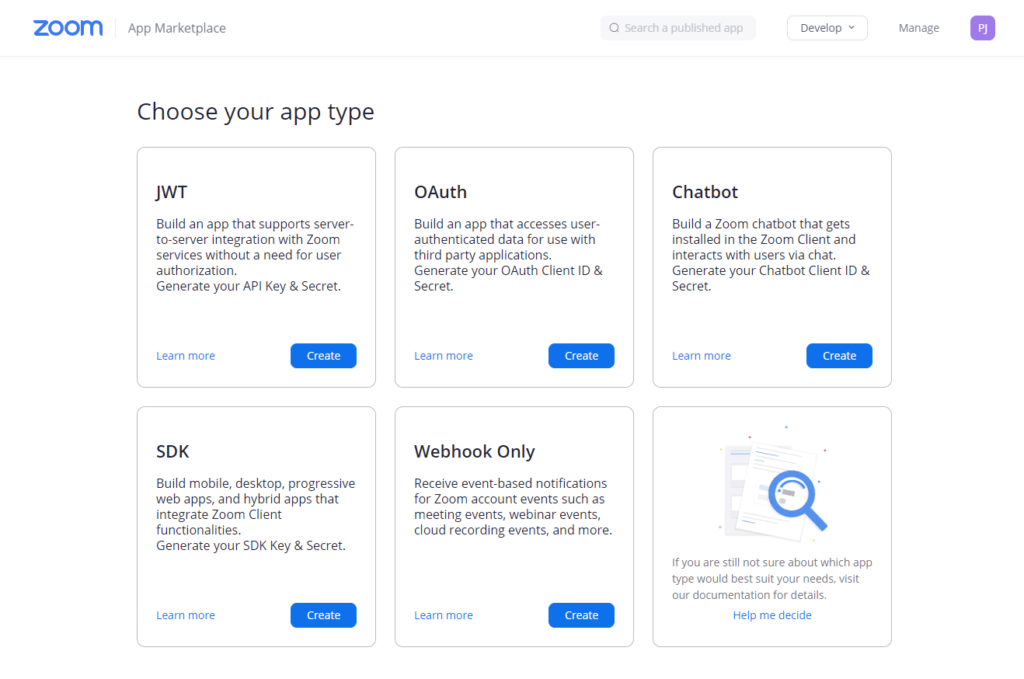
After that, select JWT. You will be asked to give a name to the app, and then some basic information like developer name, company name, email address etc.
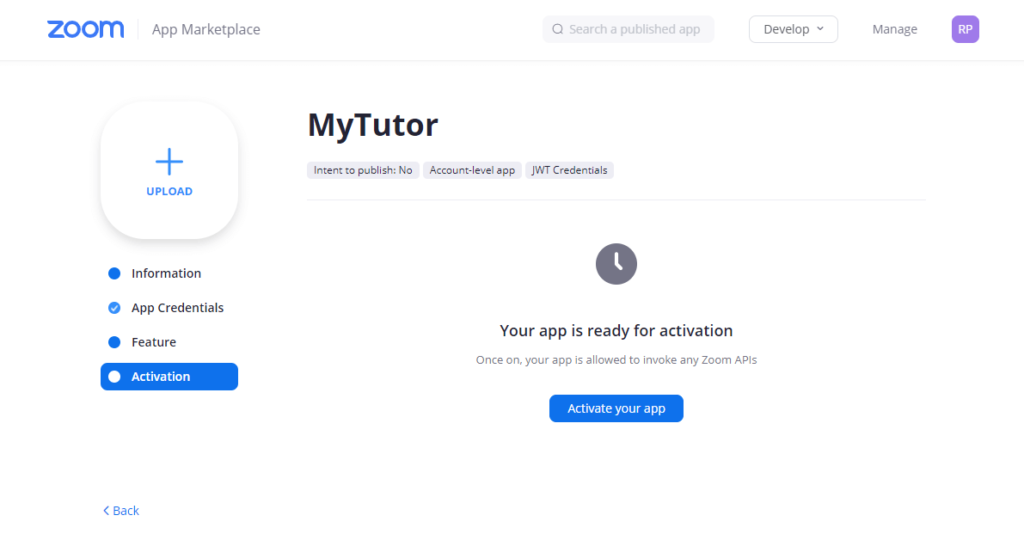
Then, go to the Activate tab and press “Activate your app” to make the JWT operational
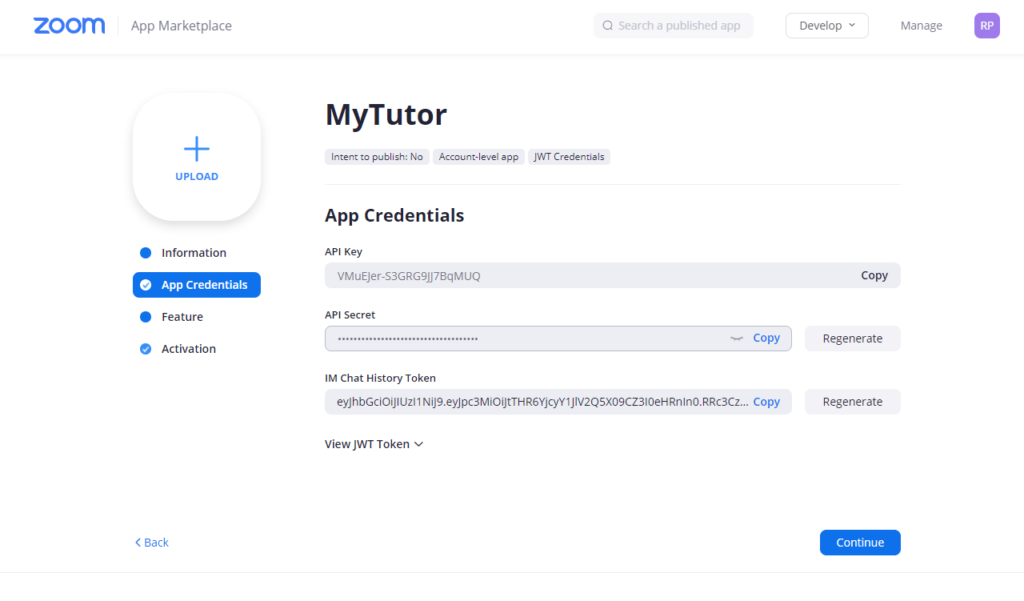
Now you will be able to view your newly validated App Credentials.
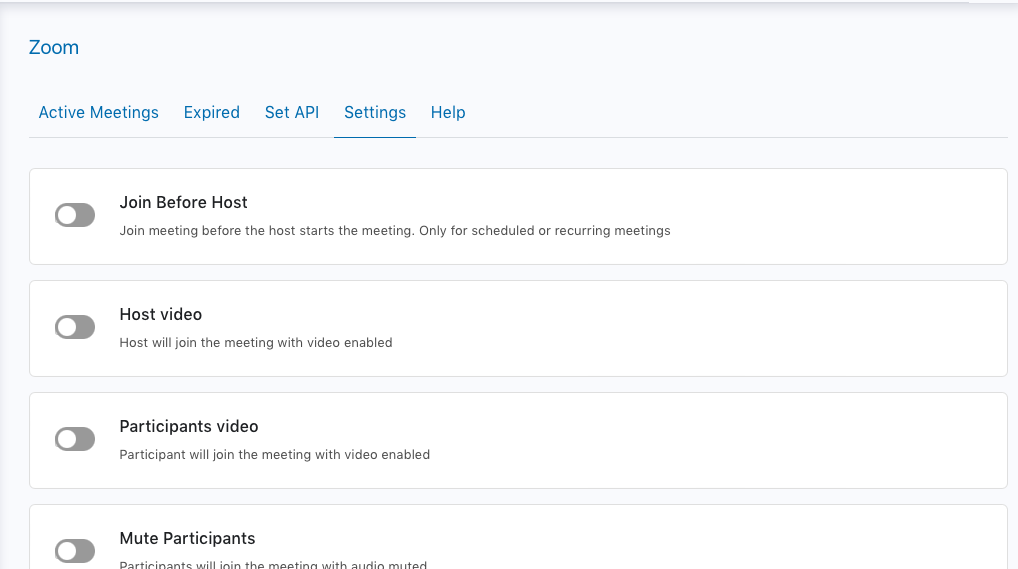
After you have finished the setup. Add the API and Secret Keys in their proper locations. Click save and head to settings to customize certain Zoom features.
After you are done, you should be able to add your meetings.
*Feel free to contact us if you need any help
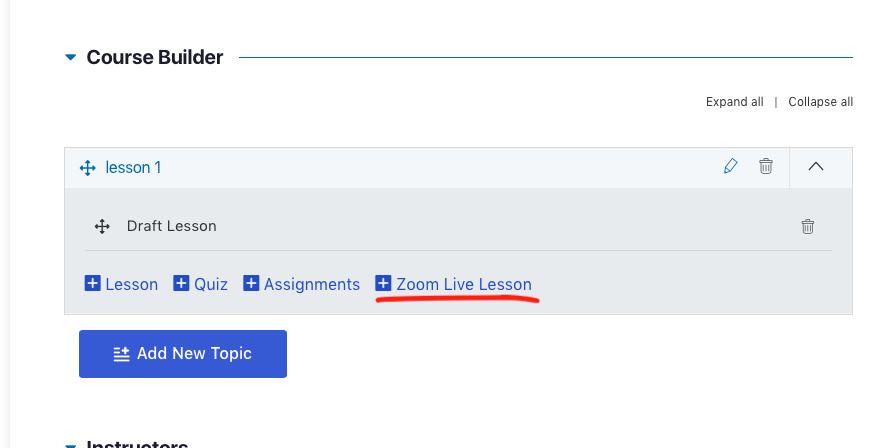
There are two places where you can zoom.
First is directly on the course page as seen below

Second place to add a zoom call is within a lesson within the course
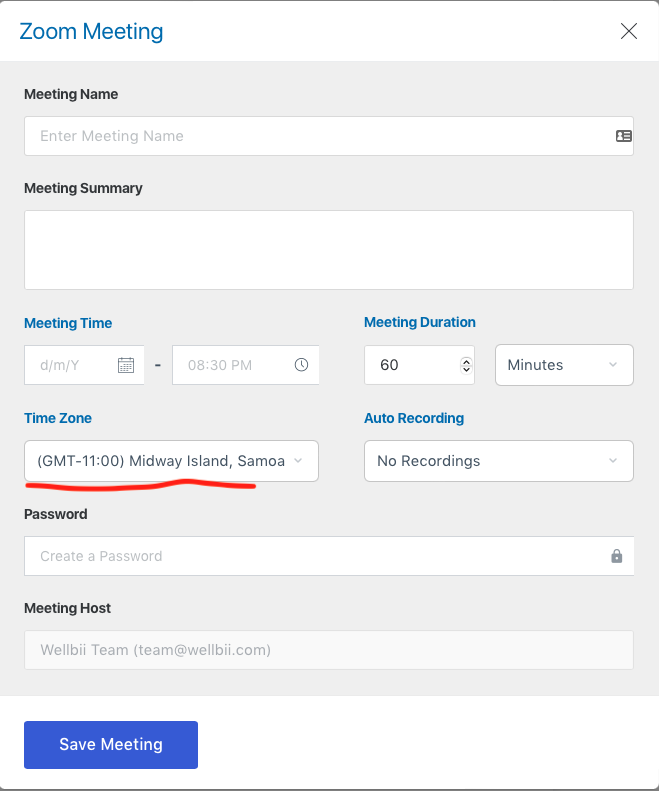
Once you click on either Zoom Buttons, you will see the Zoom Popup Meeting. Don’t forget to change the time Zone!
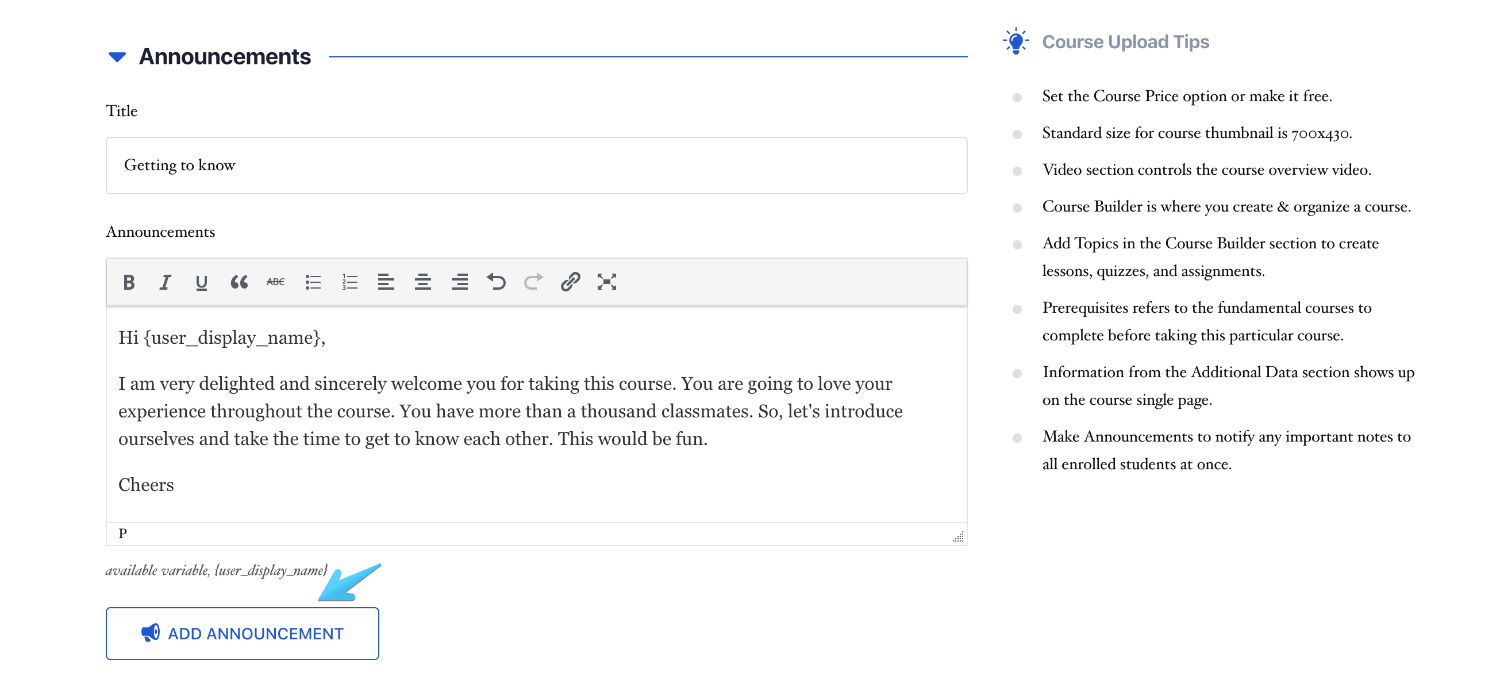
The announcements are like the notice boards. All students in the course will see the announcement when you make one. You can take advantage of the available variable {user_display_name} to make it more personalized, like the one shown in the screenshot. Doing so will enable each individual to see their own name on the announcement. Hit the “Add Announcement” button to publish it.
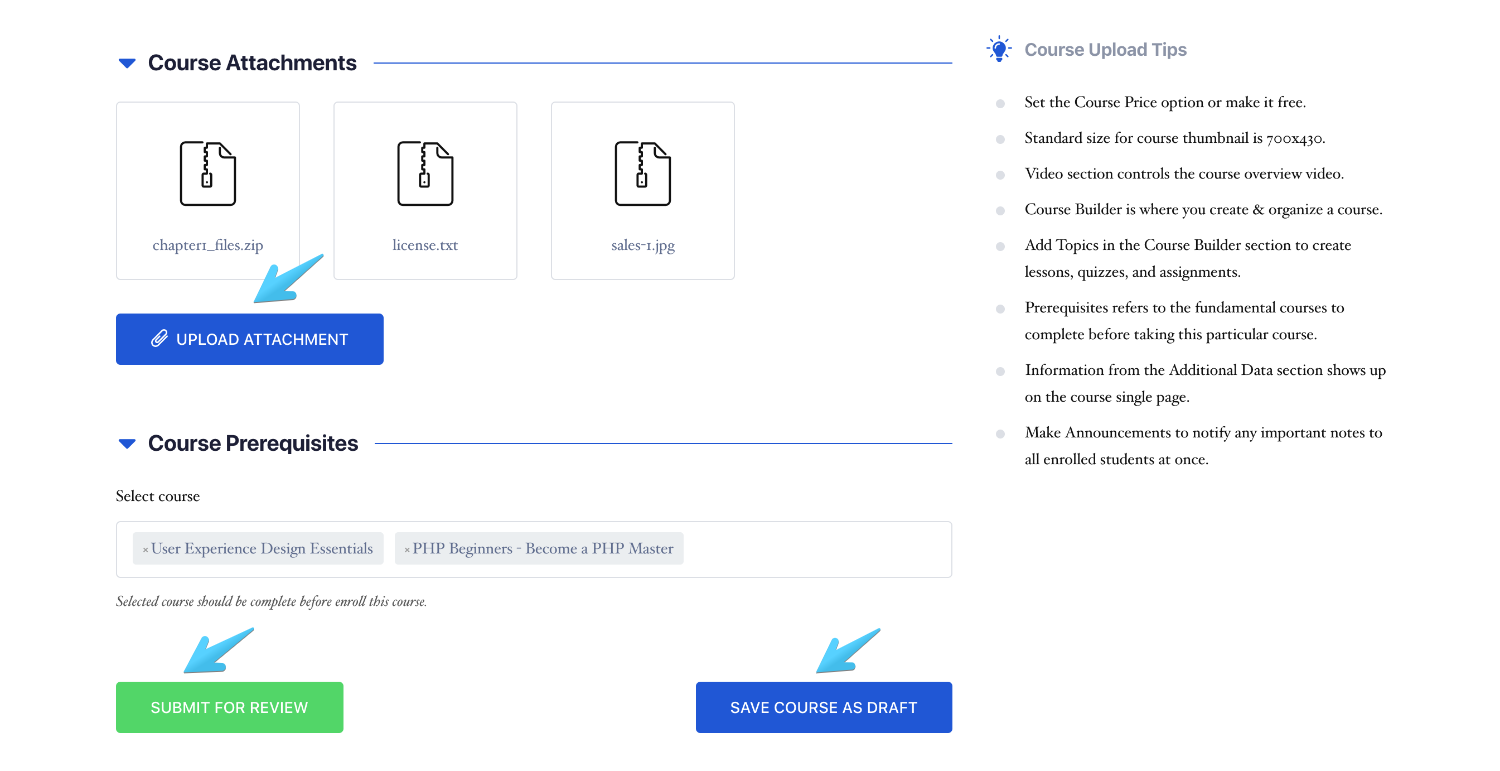
Course Attachments: You can upload multiple files (that are supported by WordPress) to any of your courses which you want to share with your students throughout the course from the Course Attachments section.
Course Prerequisites: If your course is designed for intermediate or advanced level learners, you’d want to make your students have the basics to adopt the course. The course prerequisite section confirms that the courses you define here will have to be completed before starting this particular course.
Once you are done adding all the lessons, quizzes, assignments, and putting the course details. You can either save it as a draft or submit for the admin review right away.

The top bar presents the functionality to manually save the current state, preview the course creation progress, submit for review and exit the editor panel. You’ll find the submit and save options at the bottom as well. Once you created a course using the course Editor, you’ll be submitting the class for the admin to review. When the review is done, the admin will publish the course from the backend.
Note: The course editor automatically keeps saving your edits in every 30 seconds so you don’t need to worry about losing your saved data.